Utility & Work Rooms
Craft room storage ideas that keep the table clear
Craft supplies you cannot see get bought again. And a craft room with no clear table has quietly become a storage room.
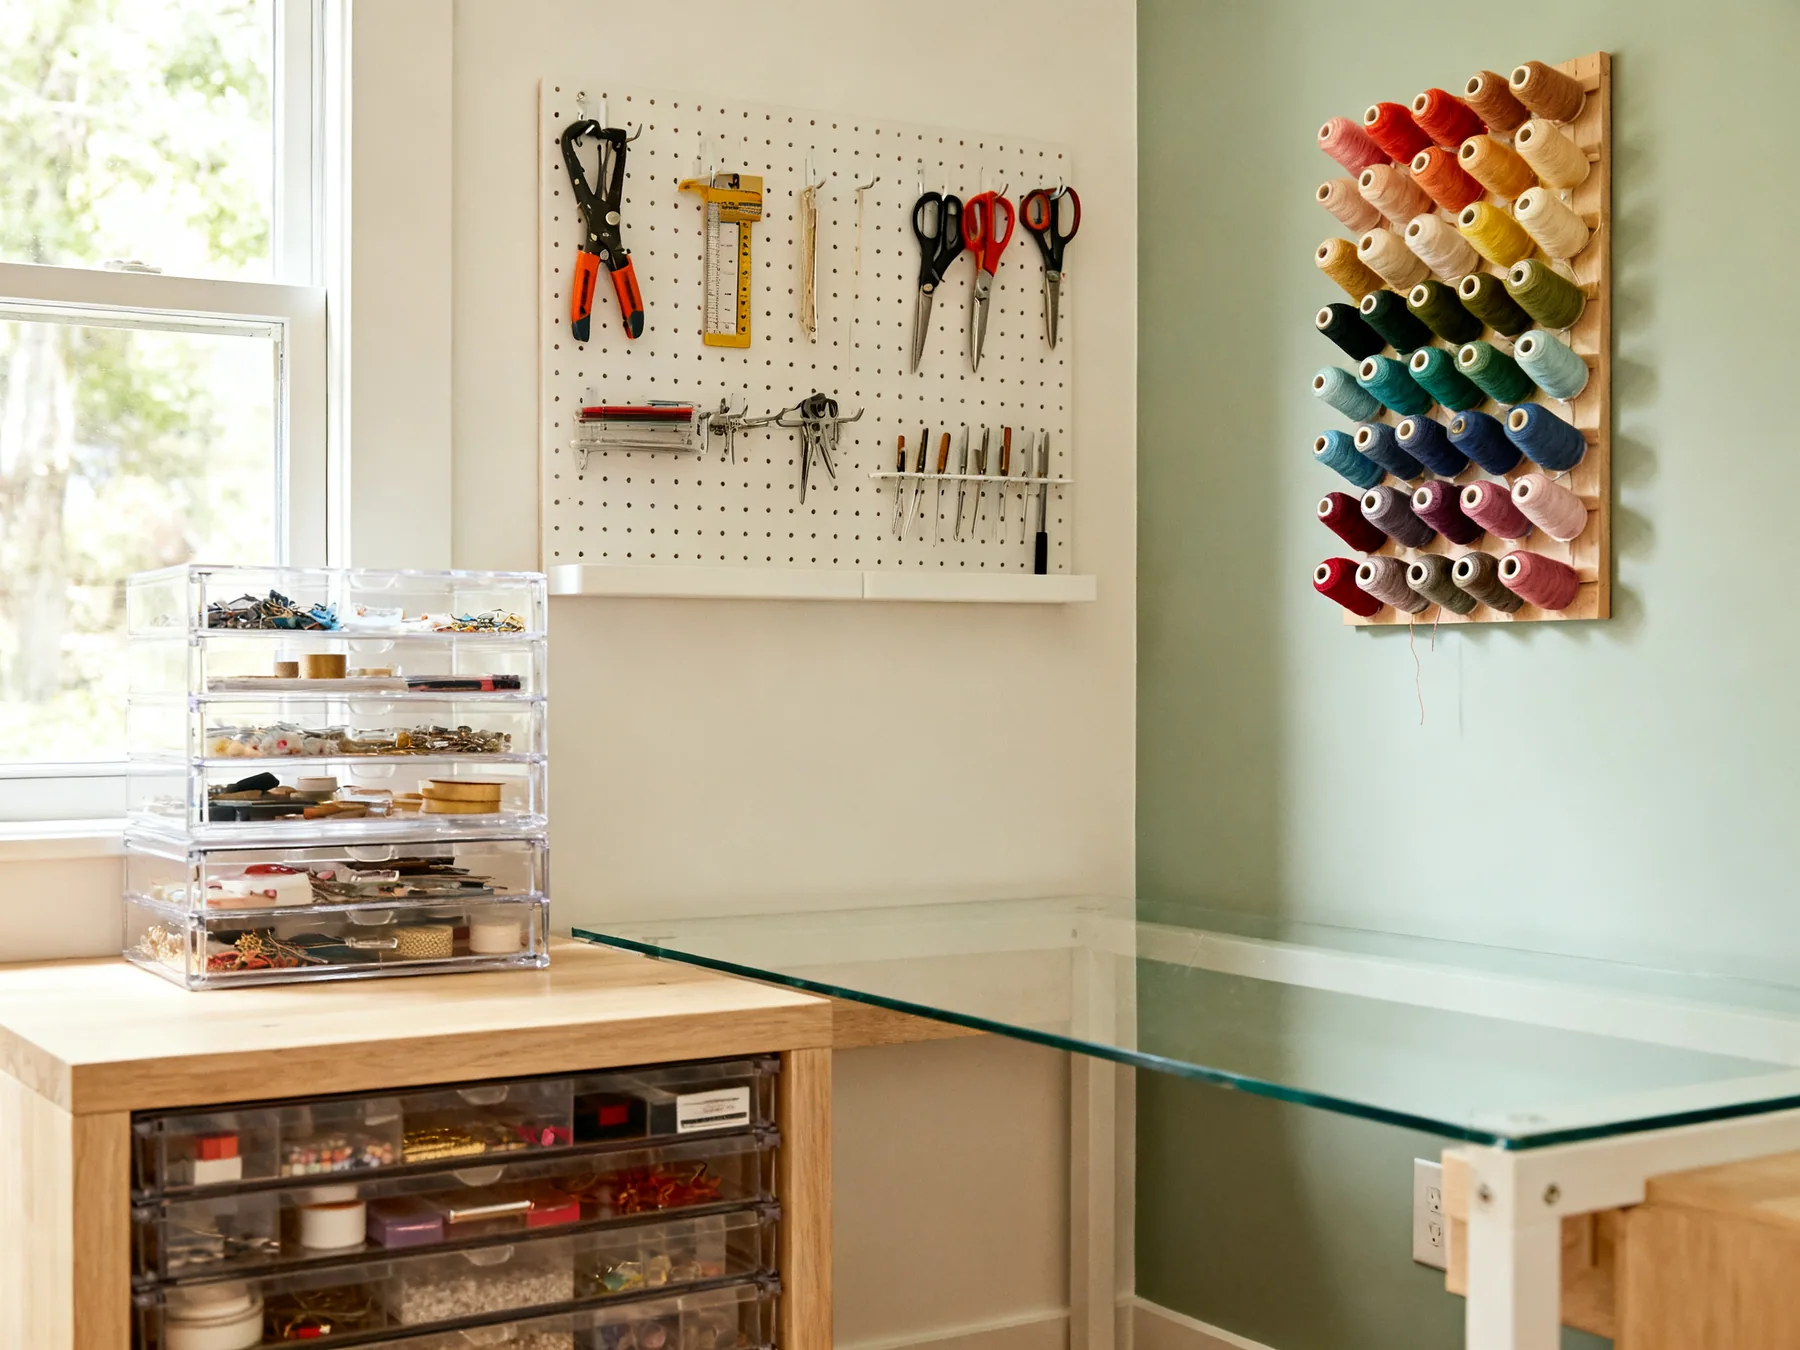
Two things go wrong in craft rooms and they are related. The first is that supplies get bought twice, because you cannot see what you already own, and a craft stash is exactly the kind of collection where that adds up: another reel of the same thread, another pot of the same colour, another pack of the same card.
The second is that the work surface disappears. Storage accumulates on the table because the table is where you were working when you needed it, and then there is nowhere to work, and then the room stops being used for making things.
So the two rules I plan around are: you have to be able to see what you own, and the middle of the table stays empty. Everything below serves one or both.
Visibility is the economic argument
This is not about a room looking pretty in a photograph. If you cannot see that you own three metres of navy ribbon, you will buy navy ribbon, and craft supplies are small, cheap individually and bought frequently, which is precisely the profile of a collection that silently duplicates.
So I would choose clear-fronted or open storage over attractive opaque boxes almost every time in a craft room, and accept that it looks busier. The alternative is a beautiful set of matching lidded boxes that you have to open one by one, which in practice means you check two and buy the rest.
Clear-fronted drawers for anything small
Beads, buttons, findings, embellishments. Small clear drawer cabinets are cheap, wall-mountable and let you check stock without opening anything. This is the single best format for craft consumables.
Open racks for thread, ribbon and tape
On a wall rack or dowels, arranged by colour. Thread in a drawer tangles and gets forgotten. On a rack it doubles as the thing that tells you what colours you have.
Store paper and card flat and visible
Vertical file dividers or shallow trays, one colour or type per slot, so you can see the edges. A stack of mixed card is unusable and it creases at the corners.
Keep an inventory only if the stash is large
Past a certain size a note on your phone beats any physical system, because you can check it in a shop. The physical storage still has to match it or it goes out of date immediately.
Group by material, not by project
All the card together, all the paint together. Grouping by project sounds efficient and means the same material lives in four places, which is how duplication starts.
The work surface is the real resource
A craft room has the same problem as a small kitchen: the scarce thing is not storage volume, it is clear working area, and the two compete directly. Anything that lives permanently on the table has taken space from the activity the room exists for.
So storage goes on walls, under the table and to the back and sides, and the middle stays empty. That sounds obvious and it is the thing that most reliably slips, because putting a caddy on the table is easier than fixing a shelf.
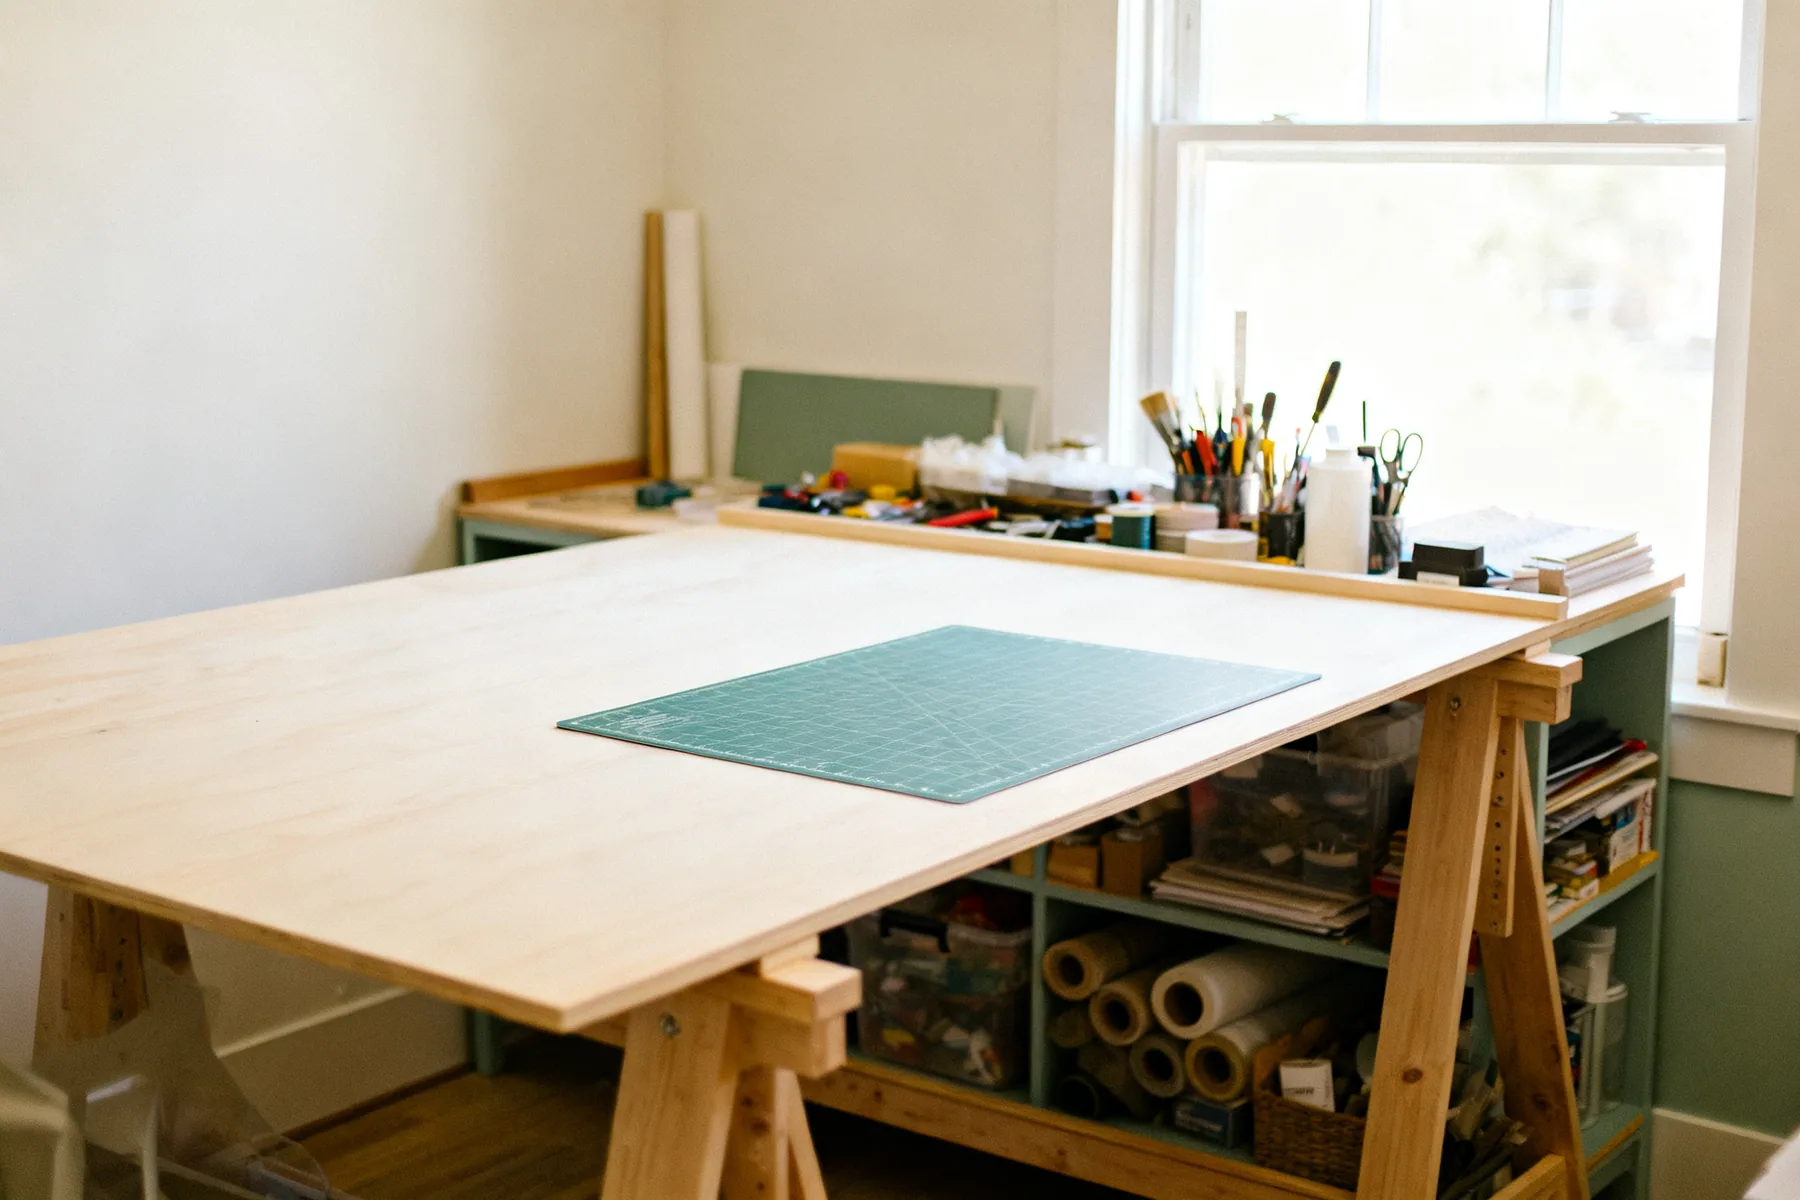
Keep the centre of the table permanently clear
Treat it as equipment rather than as space going spare. If something has been sitting there for a week, it needs a home on a wall or under the table instead.
Put the tools you use constantly on a pegboard above
Scissors, rulers, rotary cutter, glue. Within reach of the seated position and off the surface. A pegboard is reconfigurable, which matters because a craft toolkit changes.
Use a rolling cart for the current project only
It comes to the table while you work and rolls away afterwards. This is the right compromise between wanting things to hand and needing the table back.
Fit a shallow shelf at the back of the table
A 100 to 150mm shelf across the back holds pots of pens and small items in space that was unusable anyway, and lifts them off the working area.
Leave a cutting mat down permanently
Not storage, but it means the surface survives, and a surface you are protecting is one you keep clear. A damaged table gets covered with things.
One box per project
Craft rooms accumulate half-finished work, and a part-finished project is not just materials. It is materials plus specific tools plus a pattern plus the decisions you already made and have now forgotten.
Keeping each project complete in its own box is what makes it resumable months later, and it is the difference between a project you come back to and one you eventually unpick for the materials.
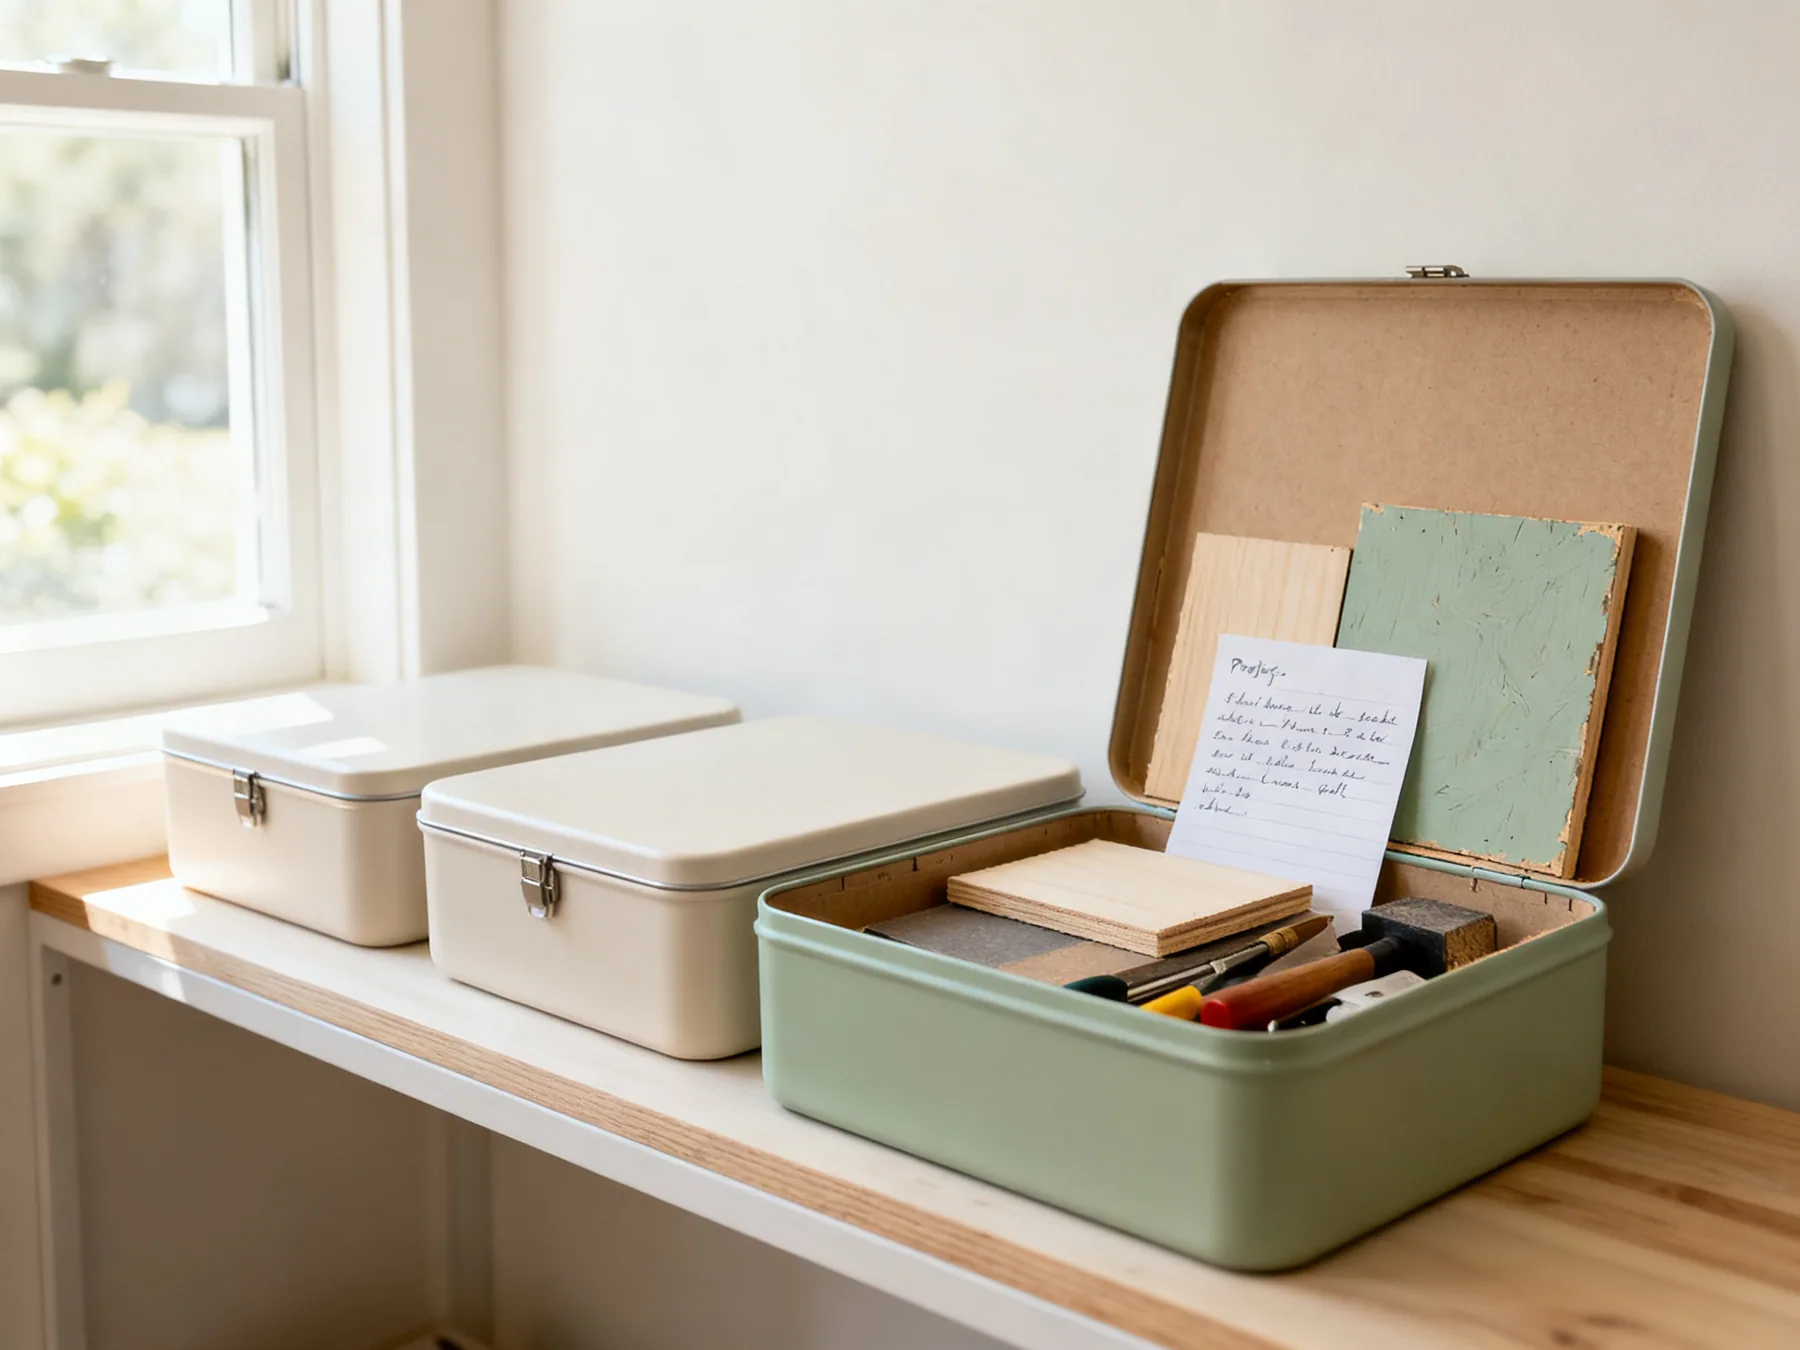
Shallow lidded boxes, one per project
Shallow so you can see the whole contents at once. Everything for that project inside: materials, the specific tools, the pattern, offcuts you might still need.
Write down where you got to
A note in the box: what step you are on, what you changed, what you were worried about. Coming back cold to a half-finished piece with no notes is how projects get abandoned.
Do not rob tools from a paused project
The most reliable way to abandon something. If you need those scissors for the next thing, buy a second pair rather than emptying the box.
Keep the boxes visible, not stacked away
On an open shelf where you see them. In a cupboard they hibernate, and a project you have forgotten about is a project that is finished whether you meant it to be or not.
Be honest about the ones that are done
A project untouched for two years is materials, not a project. Returning it to the general stash is a decision rather than a failure, and it frees a box.
Sorting small parts
The fiddliest category and the one worth getting right, because small craft parts are the easiest thing in the house to lose and the most annoying to re-buy.
The principle is to sort the way you actually search. For beads and buttons that is usually colour first and size second, because you go looking for a blue button rather than a 12mm one. For findings and fixings it is the opposite: type then size. Sorting a collection the way a shop would rather than the way you use it is why systems get abandoned.
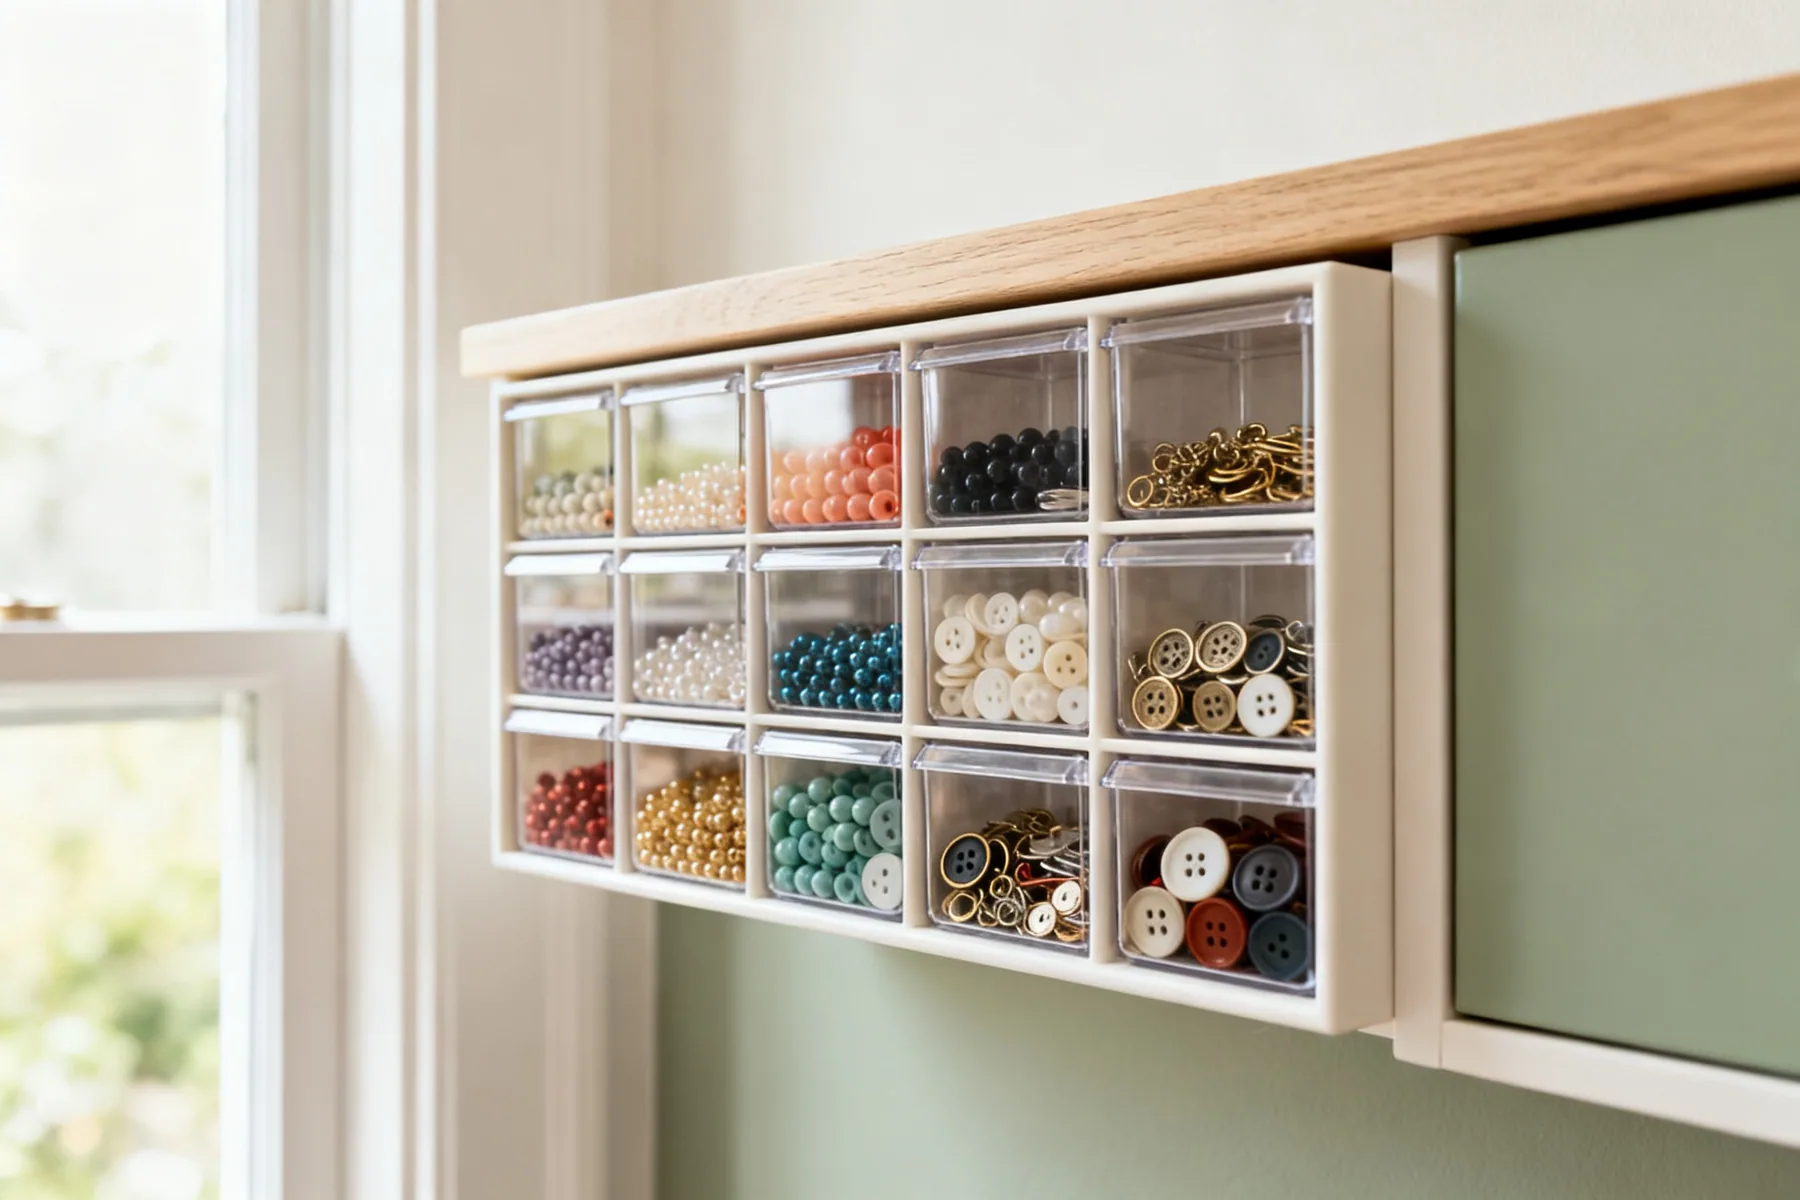
- One kind per compartment. A mixed compartment gets emptied out every time.
- Sort beads and buttons by colour first, then size.
- Sort findings, fixings and mechanical parts by type first, then size.
- Use clear containers so you can check stock without opening anything.
- Label even the clear ones, since similar sizes are hard to judge by eye.
- Keep a small tray or tin on the table for the parts in use, so they do not scatter.
- Never sort over a carpet. A dropped bead tray is a genuinely bad afternoon.
- Keep a magnet handy for pins and needles, which end up on the floor regardless.
Blades, solvents and the safety points
Craft rooms contain more genuinely hazardous items than people account for: rotary cutters, craft knives, solvent adhesives, spray paints, resins and heat tools. All of it needs a deliberate storage place rather than a shared drawer.
This matters more if the room is shared, if it doubles as a spare bedroom, or if children come into it, and craft rooms very often are all three.
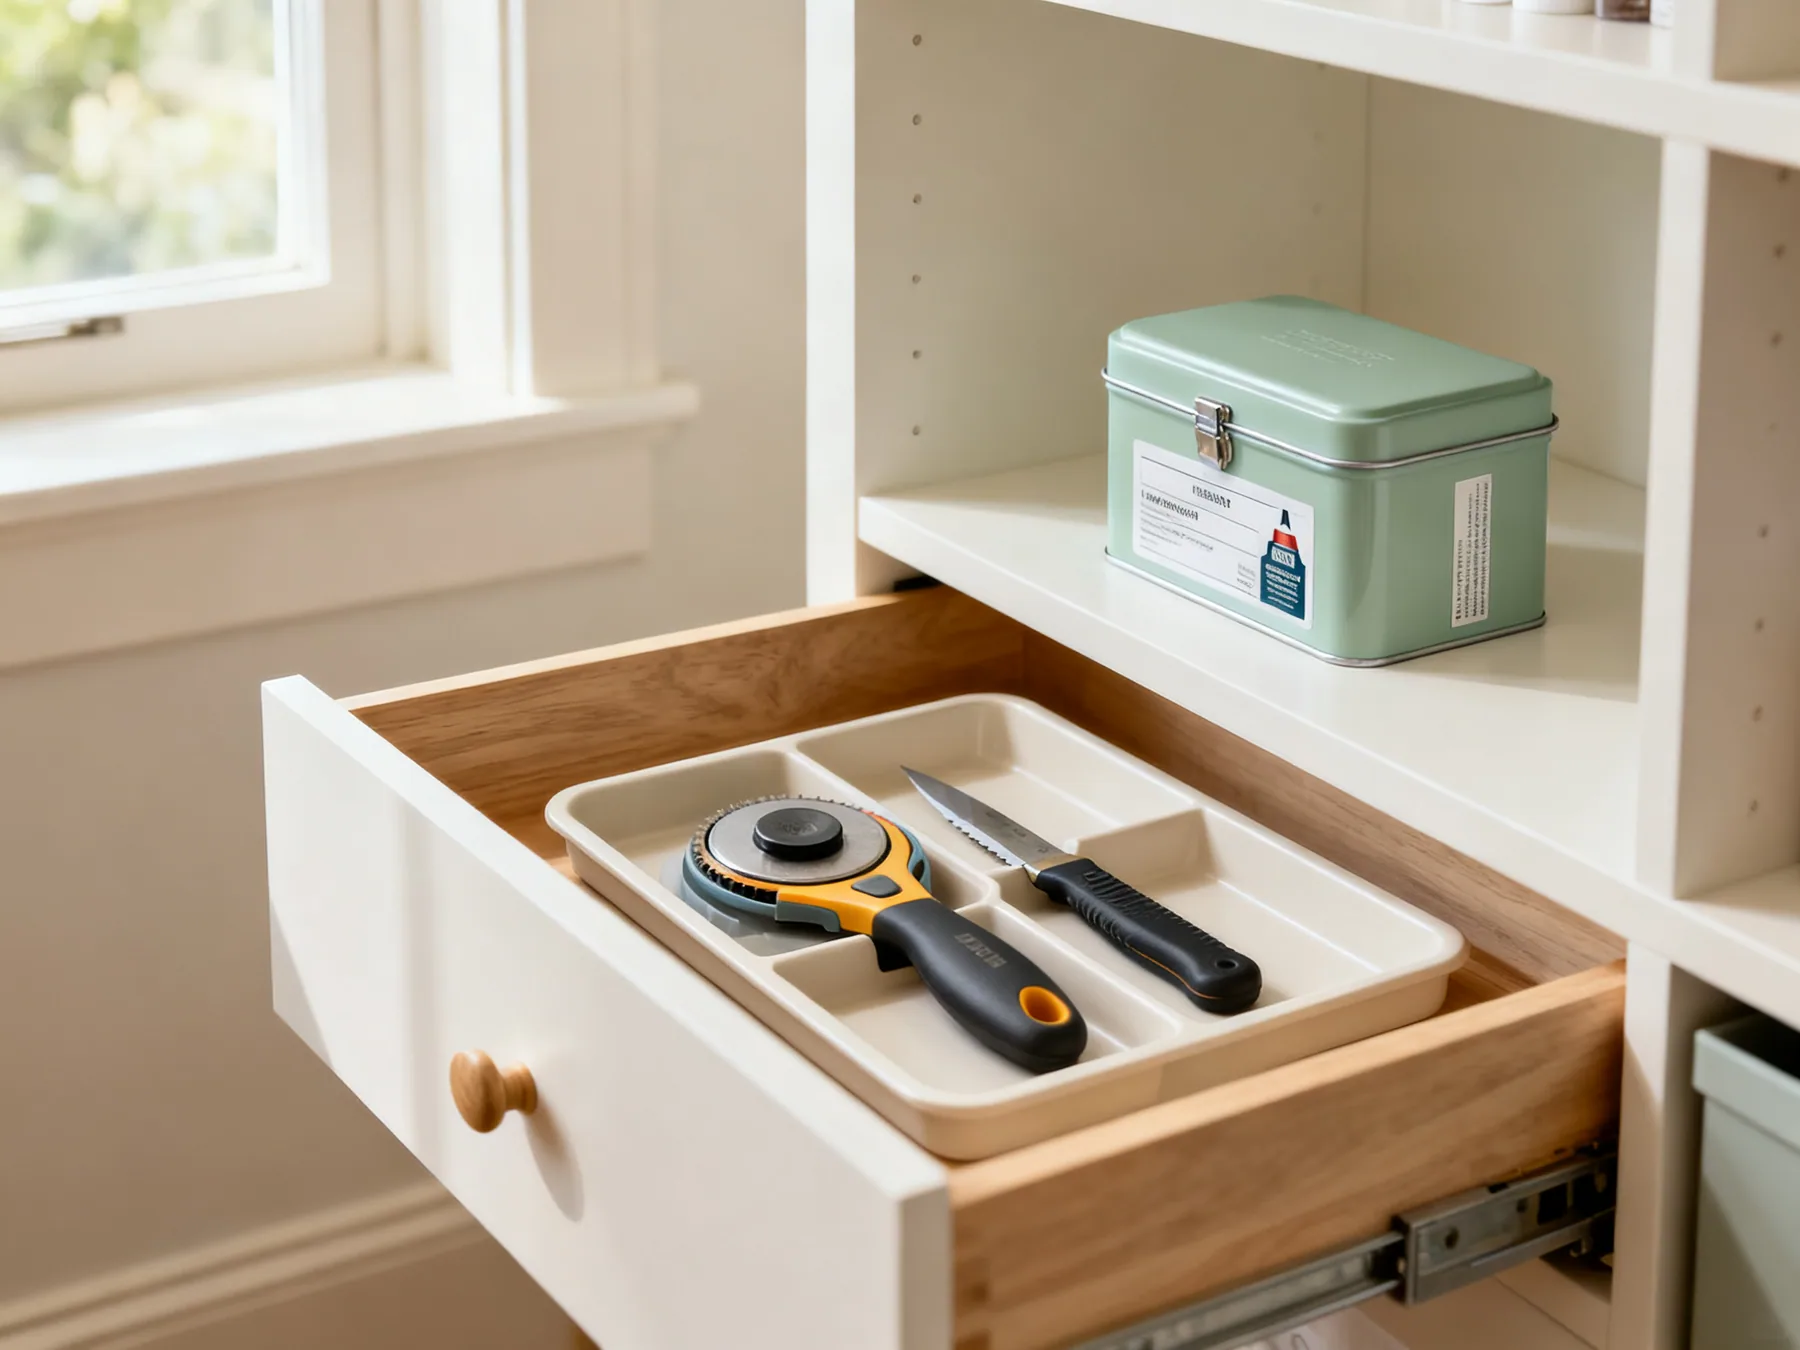
- Store rotary cutters and craft knives with the blade guard engaged, in a divided tray.
- Never leave a blade loose in a drawer you reach into without looking.
- Keep solvent adhesives and spray cans upright, lidded and on a high shelf.
- Store solvents and aerosols away from heat sources and out of direct sun.
- Ventilate when using anything solvent-based, and store it where fumes cannot build up.
- Keep resins and their hardeners in their original labelled containers, never decanted.
- Unplug and fully cool heat tools before they go away, and store them clear of anything flammable.
- If children use the room, put everything sharp or chemical behind a catch or above their reach.
Craft room storage ideas that keep the table clear: frequently asked questions
How should I organise craft supplies?
Visibly, and grouped by material rather than by project. Clear-fronted drawers for small items and open racks for thread and ribbon, so you can check what you own without opening anything. Craft supplies are small, cheap individually and bought often, which makes them the easiest collection in a house to buy twice.
How do I stop my craft table filling up with storage?
Treat the clear centre of the table as equipment rather than as space going spare, and put storage on the walls, under the table and to the back and sides. If something has sat on the surface for a week it needs a home elsewhere. A rolling cart for the current project only is the right compromise.
What is the best way to store half-finished projects?
One shallow lidded box per project, with the materials, the specific tools and the pattern all inside, plus a note of what step you are on and what you changed. Keep the boxes on an open shelf where you can see them, because a project in a cupboard hibernates. And do not take the tools out for the next project.
How should I sort beads and small findings?
The way you search for them. Beads and buttons by colour first and size second, because you go looking for a blue button rather than a 12mm one. Findings and mechanical parts the other way round, type then size. One kind per compartment, in clear containers, and label them even so.
How do I store craft blades and adhesives safely?
Rotary cutters and craft knives with the blade guard on, in a divided tray, never loose in a drawer you reach into without looking. Solvent adhesives and spray cans upright and lidded on a high shelf, away from heat and direct sun, in their original labelled containers. Behind a catch or out of reach entirely if children use the room.
Should craft storage be open or closed?
Mostly open or clear-fronted, which is the opposite of what I would say for a living room. The reason is economic rather than aesthetic: supplies you cannot see get bought again. A set of matching opaque boxes looks better and means you check two and re-buy the rest, so accept a busier-looking room in exchange for a stash you actually use.